So, as darling divas do, the girls started complaining to me about there housing in the binders in the bookcase. I had to do something fast before they drove me totally crazy!
My first thoughts were to buy a pink, plastic, palace. When looking around, I realized they were over priced, for how they were made and what they were made of and wouldn't really suit the girls. Next, I looked at some wonderful wooden kits. These suited the girls better, but they were expensive and the rooms would be too small for the furniture I had already made for the girls.
I guess my only option is to build the girls a new home. Ok, so a beautiful house of wood.... No, that won't work. It would be expensive and heavy, plus, with my health issues, I can't manage most power tools any more. I needed another option before the girls got to hostile! Foam core! Perfect! Cheap enough, I can get it at Dollar Tree, light weight, I can carry lots of sheets at once and easy to cut with my Xacto or scissors!
Originally, I was going to glue all the rooms to each other, but changed my mind when I thought about the ultimate size of the house. I decided to build a series of boxes from the foam core and then stack them or place them side by side. I wanted the girls to have plenty of room, so each box is the size of a piece of foam core 30" x 18" with 15" high walls. Some of the boxes will be divided, some will be used as is.
The first floor box is divided and will be the kitchen and the bathroom. I should have taken pics of the box under construction, but I didn't think about it. I will do so for the 2nd floor box.
I needed wallpaper, flooring and such. There doesn't seem to be too much in 1/6th scale commercially made. Most of what is available is traditional doll house size, which is 1/12th scale. While some of that scale will work for Blythe, I decided to make what I could on my own. I went to Pinterest and found lots of miniature printables for just what I needed. Some I had to resize in Photoshop and some could use as is.
I decided to work on the bathroom first because I had the purple tub to use to create a color scheme. Of course, a bathroom calls for lots of tile. I found a great purple subway tile with a black border to use on the walls. Additionally, I found a purple and white tile that I could use on the floor and the corner shower. I printed the tiles on photo paper to make them look glossy, like real tiles. Here is the coordinating Bathroom Wallpaper, which I printed on standard computer paper. I glued everything on with a glue stick for 2 reasons, first, foam core will warp if it is exposed to too much moisture and second, I did have to seal my printies, which would run, if they were exposed to too much moisture.
Here are some pictures of the bathroom so far:
The first floor box has a divider, made of foam core, to create 2 rooms. On the other side of the bathroom is the kitchen.
I haven't done the wallpaper or the flooring yet, I may use scrapbook paper for it. The appliances and sink were all made by me using printables on photo paper, boxes, trash and cardboard. You can find the appliance printables on My Small Obsession. They are 1/12th scale and have to be resized.
The stove was made using a boutique tissue box with foam core for the top piece.
Rebecca is already cooking breakfast on it.
The knobs are parts of snaps. Her pan, with the egg in it is an eraser.
The fridge was made from a shoe box.
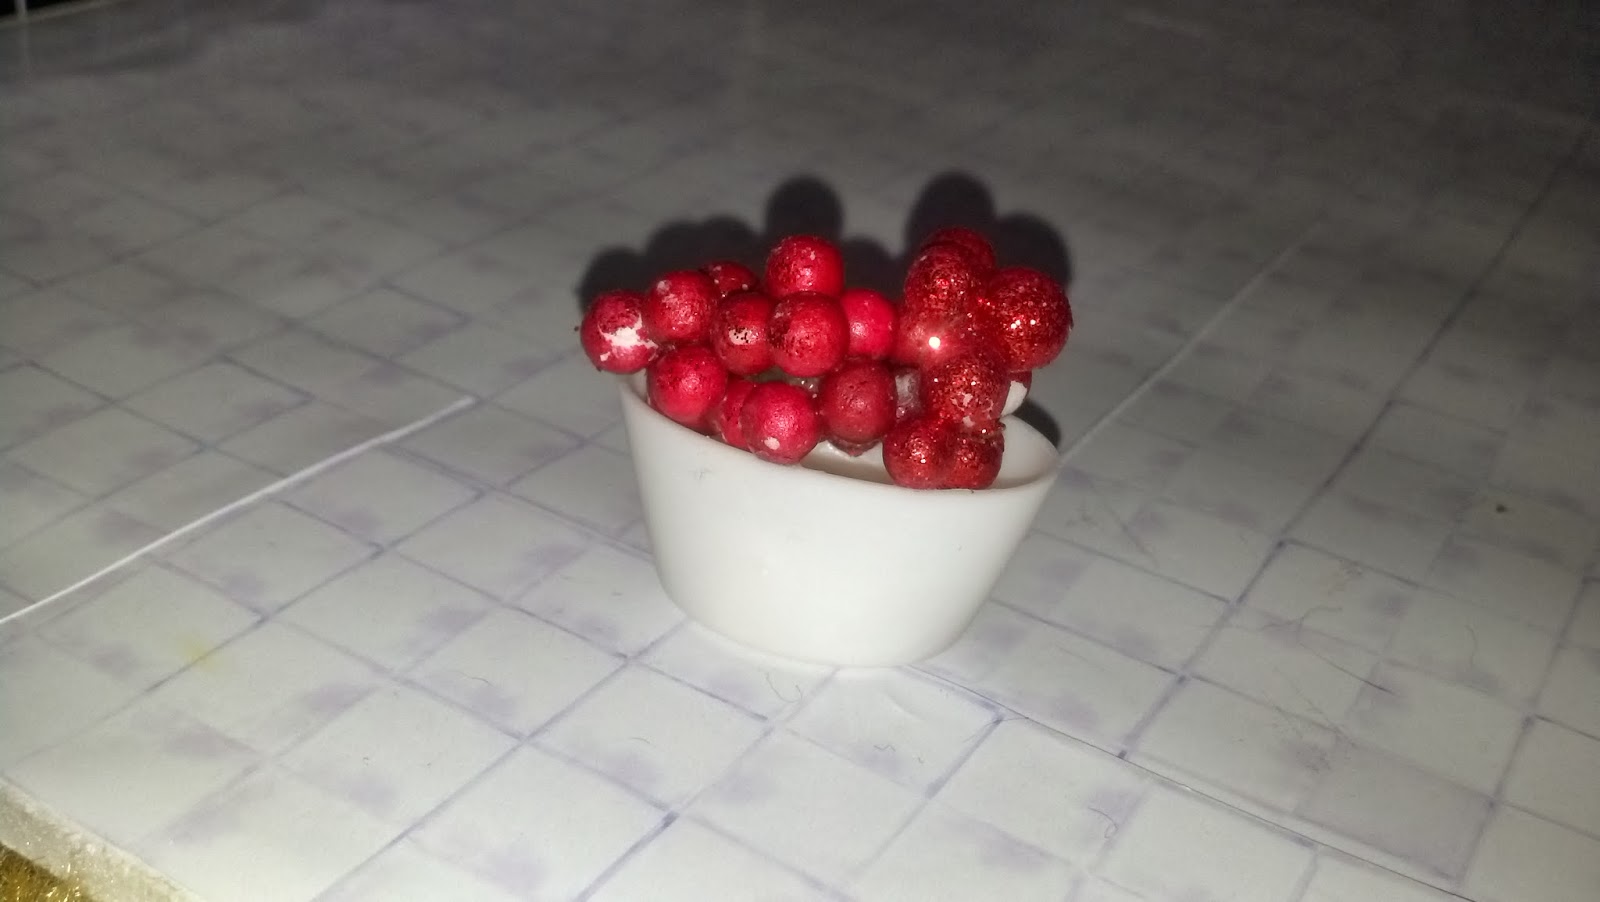
The fruit bowl on the top was made from a cover and some pieces from a Christmas decoration.
Th sink was made from corrugated cardboard and a foam core back splash because I couldn't find the right sized box to fit between the fridge and the stove.
For the faucet, I used the hook portion from a suction cup and painted it silver.
The hot and cold knobs are beads and so are the cabinet knobs. The sink itself was a piece of plastic packaging that I also painted silver. I cut a hole in the card board and inset the plastic piece. You can see the hook also inserted into the cardboard. I covered this, and the foam core back splash in a black granite printable on photo paper.
Both of these rooms still have a lot of work to be done and of course, there are a lot more rooms left to build. I will keep you up to date as I build. The other advantage of keeping the rooms separate is that I can work on whatever room I have the materials for.
If you would like to follow any of my boards on Pinterest to see where I get my inspiration, here's the link:
Also, if you would like to see what I have for sale right now, please visit me on Etsy at The Black Onyx Boutique.
And last, but not least, yes, I am reusing the binders. This one used to be Raleigh's living room, now it is an idea book for their house.


 .
. 


No comments:
Post a Comment