Let's start in the kitchen. I did decide to use scrapbook paper for the walls. I used a solid and a print and divided them with a strip of black card stock.

The flooring is 1/12th scale flooring. It works as small tile, whereas it would be larger in a traditional dollhouse. It is glossy plastic, so it looks quite authentic.
I have also added some furniture. The table and chairs are from the Gloria Dining Room set. The chair seats were of course bubble gum pink!


The glue was still wet in that pic, but it dried clear.

I am happy with the way the kitchen looks, but more importantly, the girls love it! There may be more items added in the future, but at least they have a place to eat.
As promised, I wanted to give a quick explanation of the construction of each room (floor). I use a full sheet of foam core for both the floor and ceiling. I cut one sheet in half and use it for the side walls and for a divider if it will be used as 2 rooms. The back wall is the width of the sheet and 18" in height.
I use Tacky Glue to put it together and use T pins to hold it together until it dries.


The second box is Rebecca's room, although I will probably actually make that the 3rd floor and put the living room as the second floor.
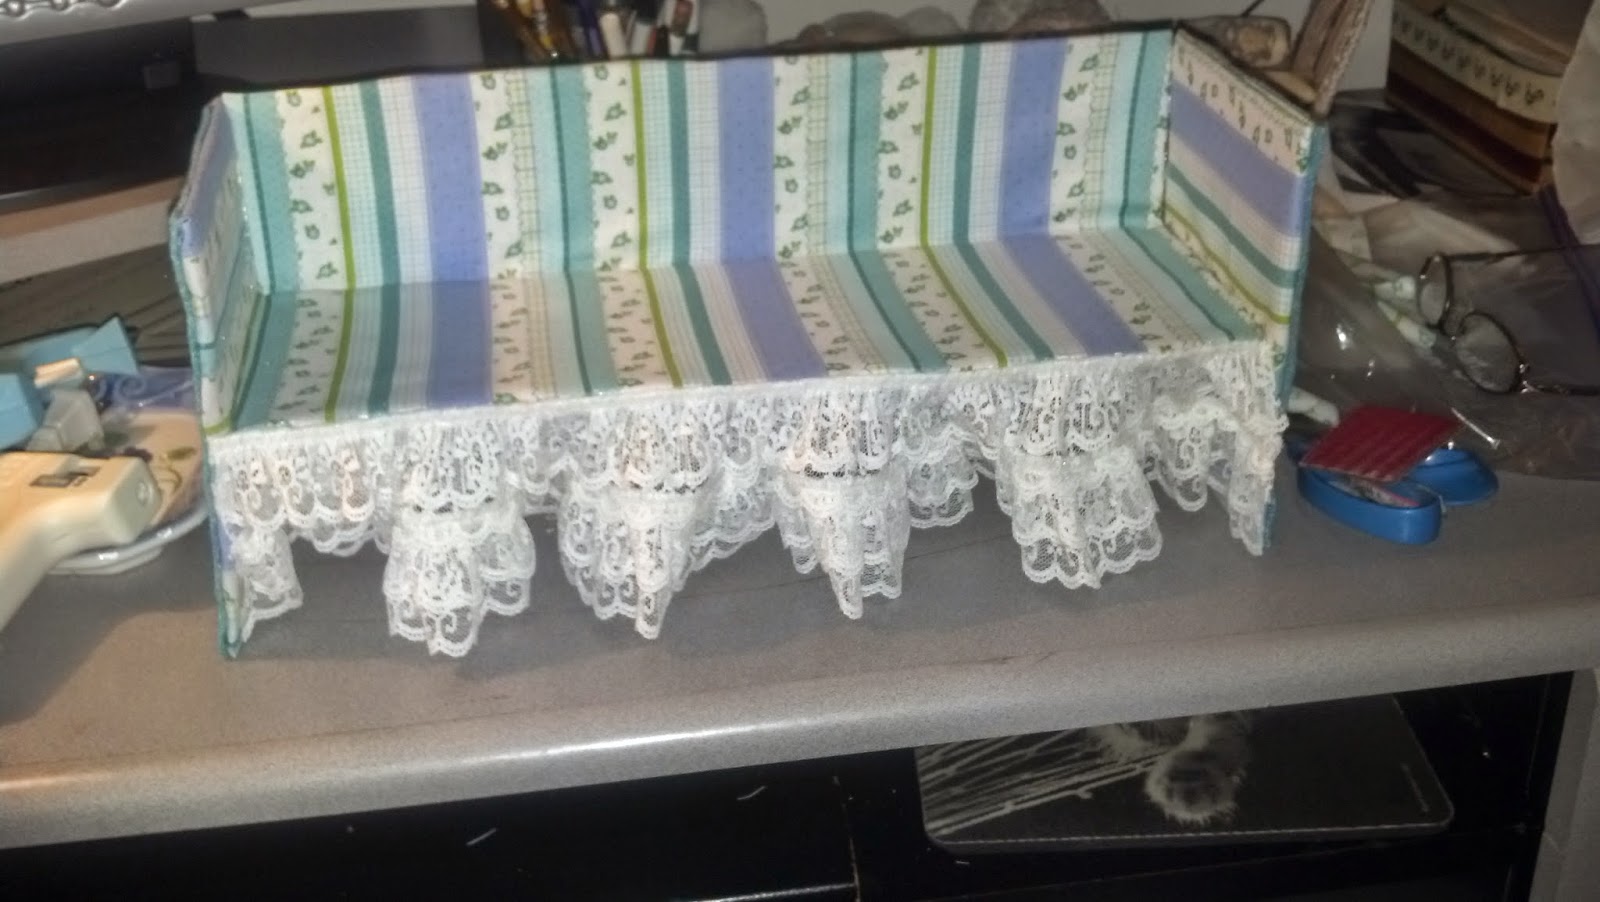
I was going to make her room pink and as you may recall, I had started making things for it. Well, that was until I found some really cute fabric and Joanns and changed the whole color scheme. I used the fabric to make a day bed. I found the idea on-line, but I can't find a link. If I run across it again, I promise to share. Here are some pics of the construction of it:


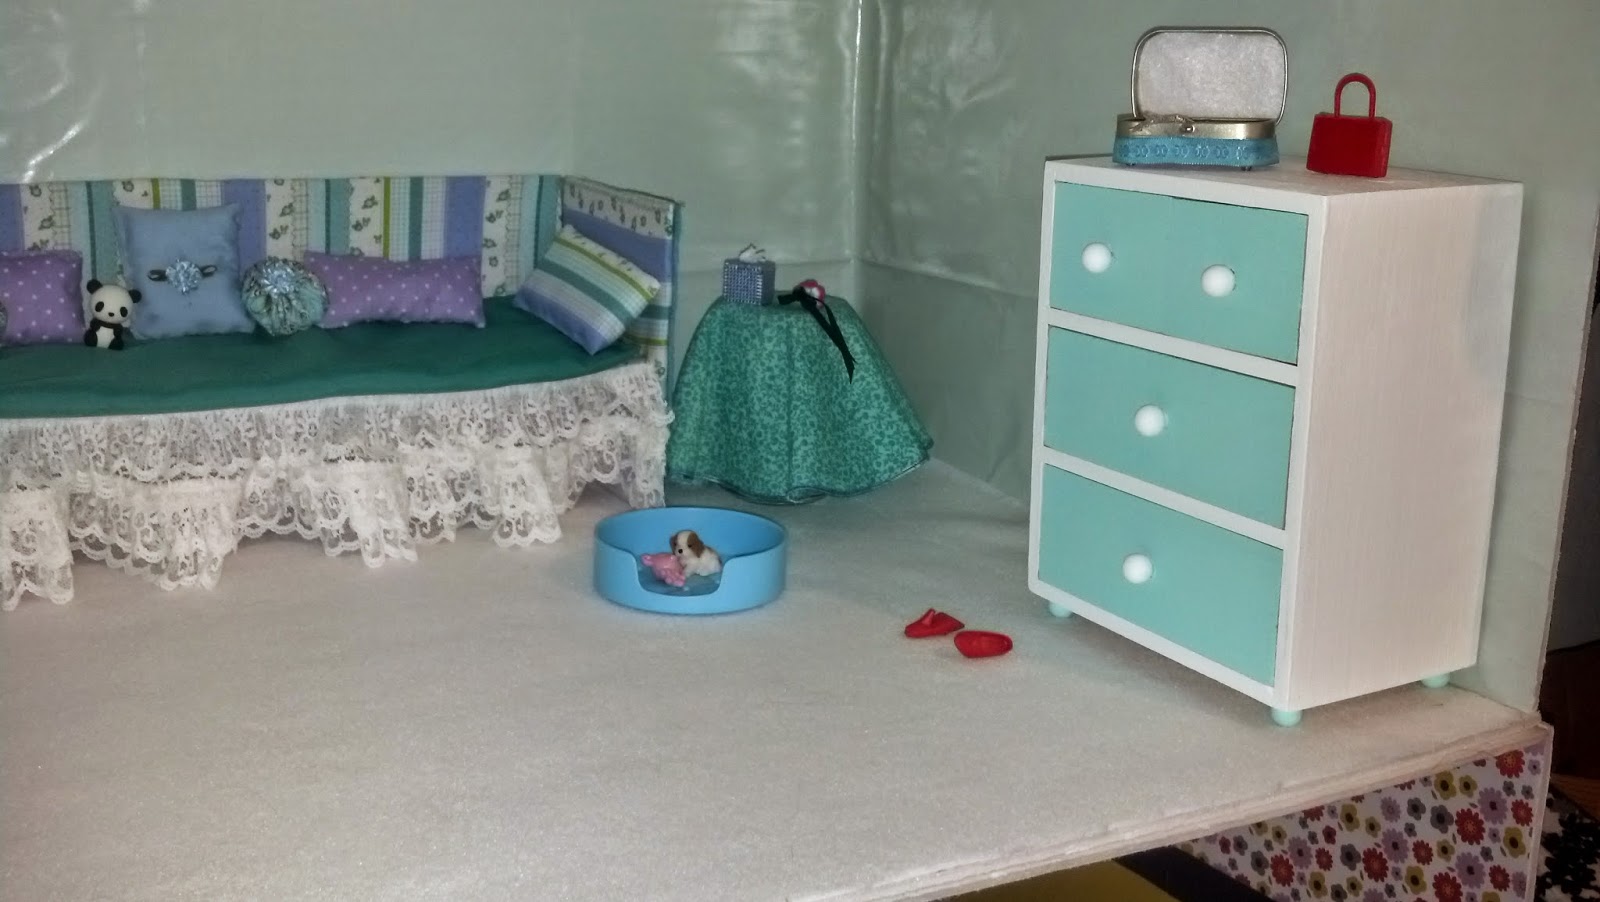
Rebecca seems to approve of her new bed. Now on to the rest of her room.
I found some plain, pale aqua wrapping paper that would work perfectly as wallpaper. I couldn't paint the walls because foam core and moisture don't mix well.

Also in the room is the vanity that I repainted and found a better stool for it. I made a cushion out of aqua felt. The flowers, painted on the mirror, where already there and were the perfect color!

I found this little wooden dresser at Michael's. I used a coupon and saved 40%!


So, that's where the house is so far. Still lots of work to be done on the rooms I have started and lots of rooms left to be built. I will keep you posted as construction continues.
When you have a minute, please feel free to check out my Etsy store: The Black Onyx Boutique to see my latest creations.